Showing posts with label Newton Blooms. Show all posts

Monday, July 15, 2024

Newton's Nook Designs 11 Year Celebration - Day 1


Hello Everybody!

Who is ready for the July release!

These new products are going to make your cardmaking so easy!

Today we have the

Fractured Card Layout Die Set

Using this die I created this card 


I chose to pair this die with the NEW Black and White Basics Paper Pad.

I am so excited for the two new paper pads.

Both these pads are neutral colors that blend so well with our current paper pads.

To start my card, I chose three different patterns from the Black and White Basics Paper Pad.

I die cut out each of the pieces of paper that I chose and place them aside.

To create a distinct separation between all the designs, I used black cardstock with the fractured die.

I like to glue my card front down onto a separate piece of 65 lbs. card stock

 This technique gives me a nice robust card front that will not bend while the glue is setting

The fractured card layout looks complicated, but it is not.

I just started in one corner and built my card front piece by piece.


 Of course, I had the die in front of me for reference the first couple of times.

I can assure you after piecing this die together after a couple of times everything just falls into place.

And … you have all the extra pieces to use later in other card fronts.

Placing a stamp block on the card front while it is drying helps the card front to stay flat.

While this is being set up, I stamped and colored my image from the Newton Blooms Stamp Set.

I also stamped and colored extra butterflies.

To create a banner, I went to my go to favorite die set the Frames and Flags Die Set.

Once my banner is die cut out, I stamped on my sentiment.

My images are now die cut out I am ready to assemble my card.

I started by trimming my card front and attaching the card front to a card base.

Next, I decided on the placement of my Newtons Bloom image and my banner.

I attach those to my card front with foam tape.


For a finishing touch I added butterflies around the image to complete the card.

I had a blast with this new die!

I have been using this die with all my leftover pieces of scraps

 and having the best time creating card fronts.

This and all the other new products will be available on ThursdayJuly 18


Happy Shopping!

Thanks so much for stopping by.

Stay craft everyone!


DIANE


Enter to Win a $25 Prize!

One lucky winner will receive a $25 prize to spend at Newton's Nook Designs online shop!

The winner will be chosen at random from the collective blog posts 

featuring our new products this week. 

For a chance to win, leave comments on the Design Team Member Blog Posts

(see list below) from Monday July 15 through Wednesday July 17th.

You will not know which blog has been chosen so

the more you comment on the better your chances are of winning!

You have until Thursday, July 17th at 9 pm ET to comment –

winners will be announced on the NND blog on Thursday, July 18th.


Check out all the awesome Design Team Blogs below to enter:

Newton's Nook Designs

Donna Idlet

Larissa Heskett

Samantha Mann

Diane Morales

Farhana Sarker

Amanda Wilcox


Want another chance to win? We will be having an Instagram hop on Thursday with a second prize! 

Please join us over on Instagram on Thursday, July 18 for details!


Sunday, May 14, 2023

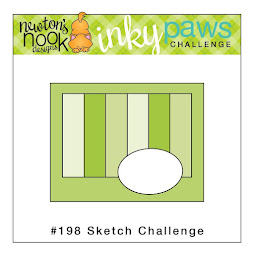
Inky Paw's Challenge 198 - Sketch Challenge


Hello Inky Paws Fans!

We have a NEW challenge coming your way.

Here is my take on the challenge.


For this challenge I used the following Newton’s Nook Design’s product.

Kitten Beach

Spring Bloom 6x6 Paper Pad

A7 Frames and Banner Die Set

Newton Blooms (grass by the chair)

Spring Roundabout (sentiment)

 I started this card by creating the base for this card.

I used grass green cardstock and the A7 Frames and Banner Die Set.

I also created a background from the same cardstock.

Next, came the panels for the background.

 I knew that I wanted to use the tulips page from the Spring Bloom 6x Paper Pad.

I am NOT a technical card maker, so how to create

these panels in a simple way will be a challenge.

After measuring the background, I decided the panels could be no longer than 3 inches.

I need room for the sentiment at the bottom.

The paper is 6 inches wide.

I needed 6 panels, ok 1 inch each.

But…. I waned a slight gap between each panel, so I wound make the panel ¾ of an inch.

Final panel size ¾ x 3inches

I started by chopping a bit of the grass off the bottom of the paper.


Then I trimmed the top by the tulips to 3 inches.

Next, I trimmed the tulips into one-inch stripes.

I DID NOT trim the strip into ¾ first, because it would leave

too much of a gap between each panel causing the tulips not to line up.

Instead, I took each panel in sets of two and trimmed them to ¾ together.

This will keep the tulips lined up when the panel is glued to the card front.

I started with the left panel and slowly glued the panels on one by one.

I checked the placement as I went to make sure that I was gluing to panel as straight as possible.

I placed the card front aside to dry and stared to stamp out my image from the Kitten Beach.

I attached my image to the front of the card with foam tape.

I also stamped on my sentiment from Spring Roundabout.

The card needs a bit of something else.


I decided to add some stamped out grass from Newton Blooms.

Adding on the grass completes my take on the challenge

I Hope this gives you a bit of inspiration for your next project.

Make sure you share your projects by using the link in

the challenge picture above.


For a chance to be


OR


to receive a $20 Store Credit to Newton's Nook Designs!

using random.org

Are you social?

Follow me on Instagram

at 2.sistersproject

and

Newton’s Nook Designs

Also use the following hashtags

#inkypawschallenge

#newtonsnook

#newtonsnookdesign


Thanks so much for visiting.


STAY CRAFTY.

DIANE


Monday, April 11, 2022

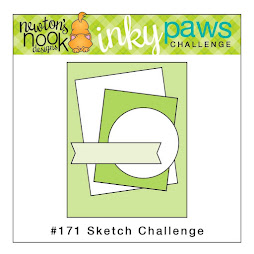
Inky Paw's Challenge 171 - Sketch Challenge


Hello Inky Paws Fans!

We have a NEW challenge coming your way.

Check out this fun Sketch!

For this challenge I used the following Newton’s Nook Design’s product.

(NEW) Newton Blooms

(NEW) Oval Frames Die

(NEW) Springtime 6x6 Paper Pad

Frameworks Die Set

Argyle Stencil Set


Such a fun and unusual sketch!

Perfect for the NEW Springtime 6X6 Paper Pad.

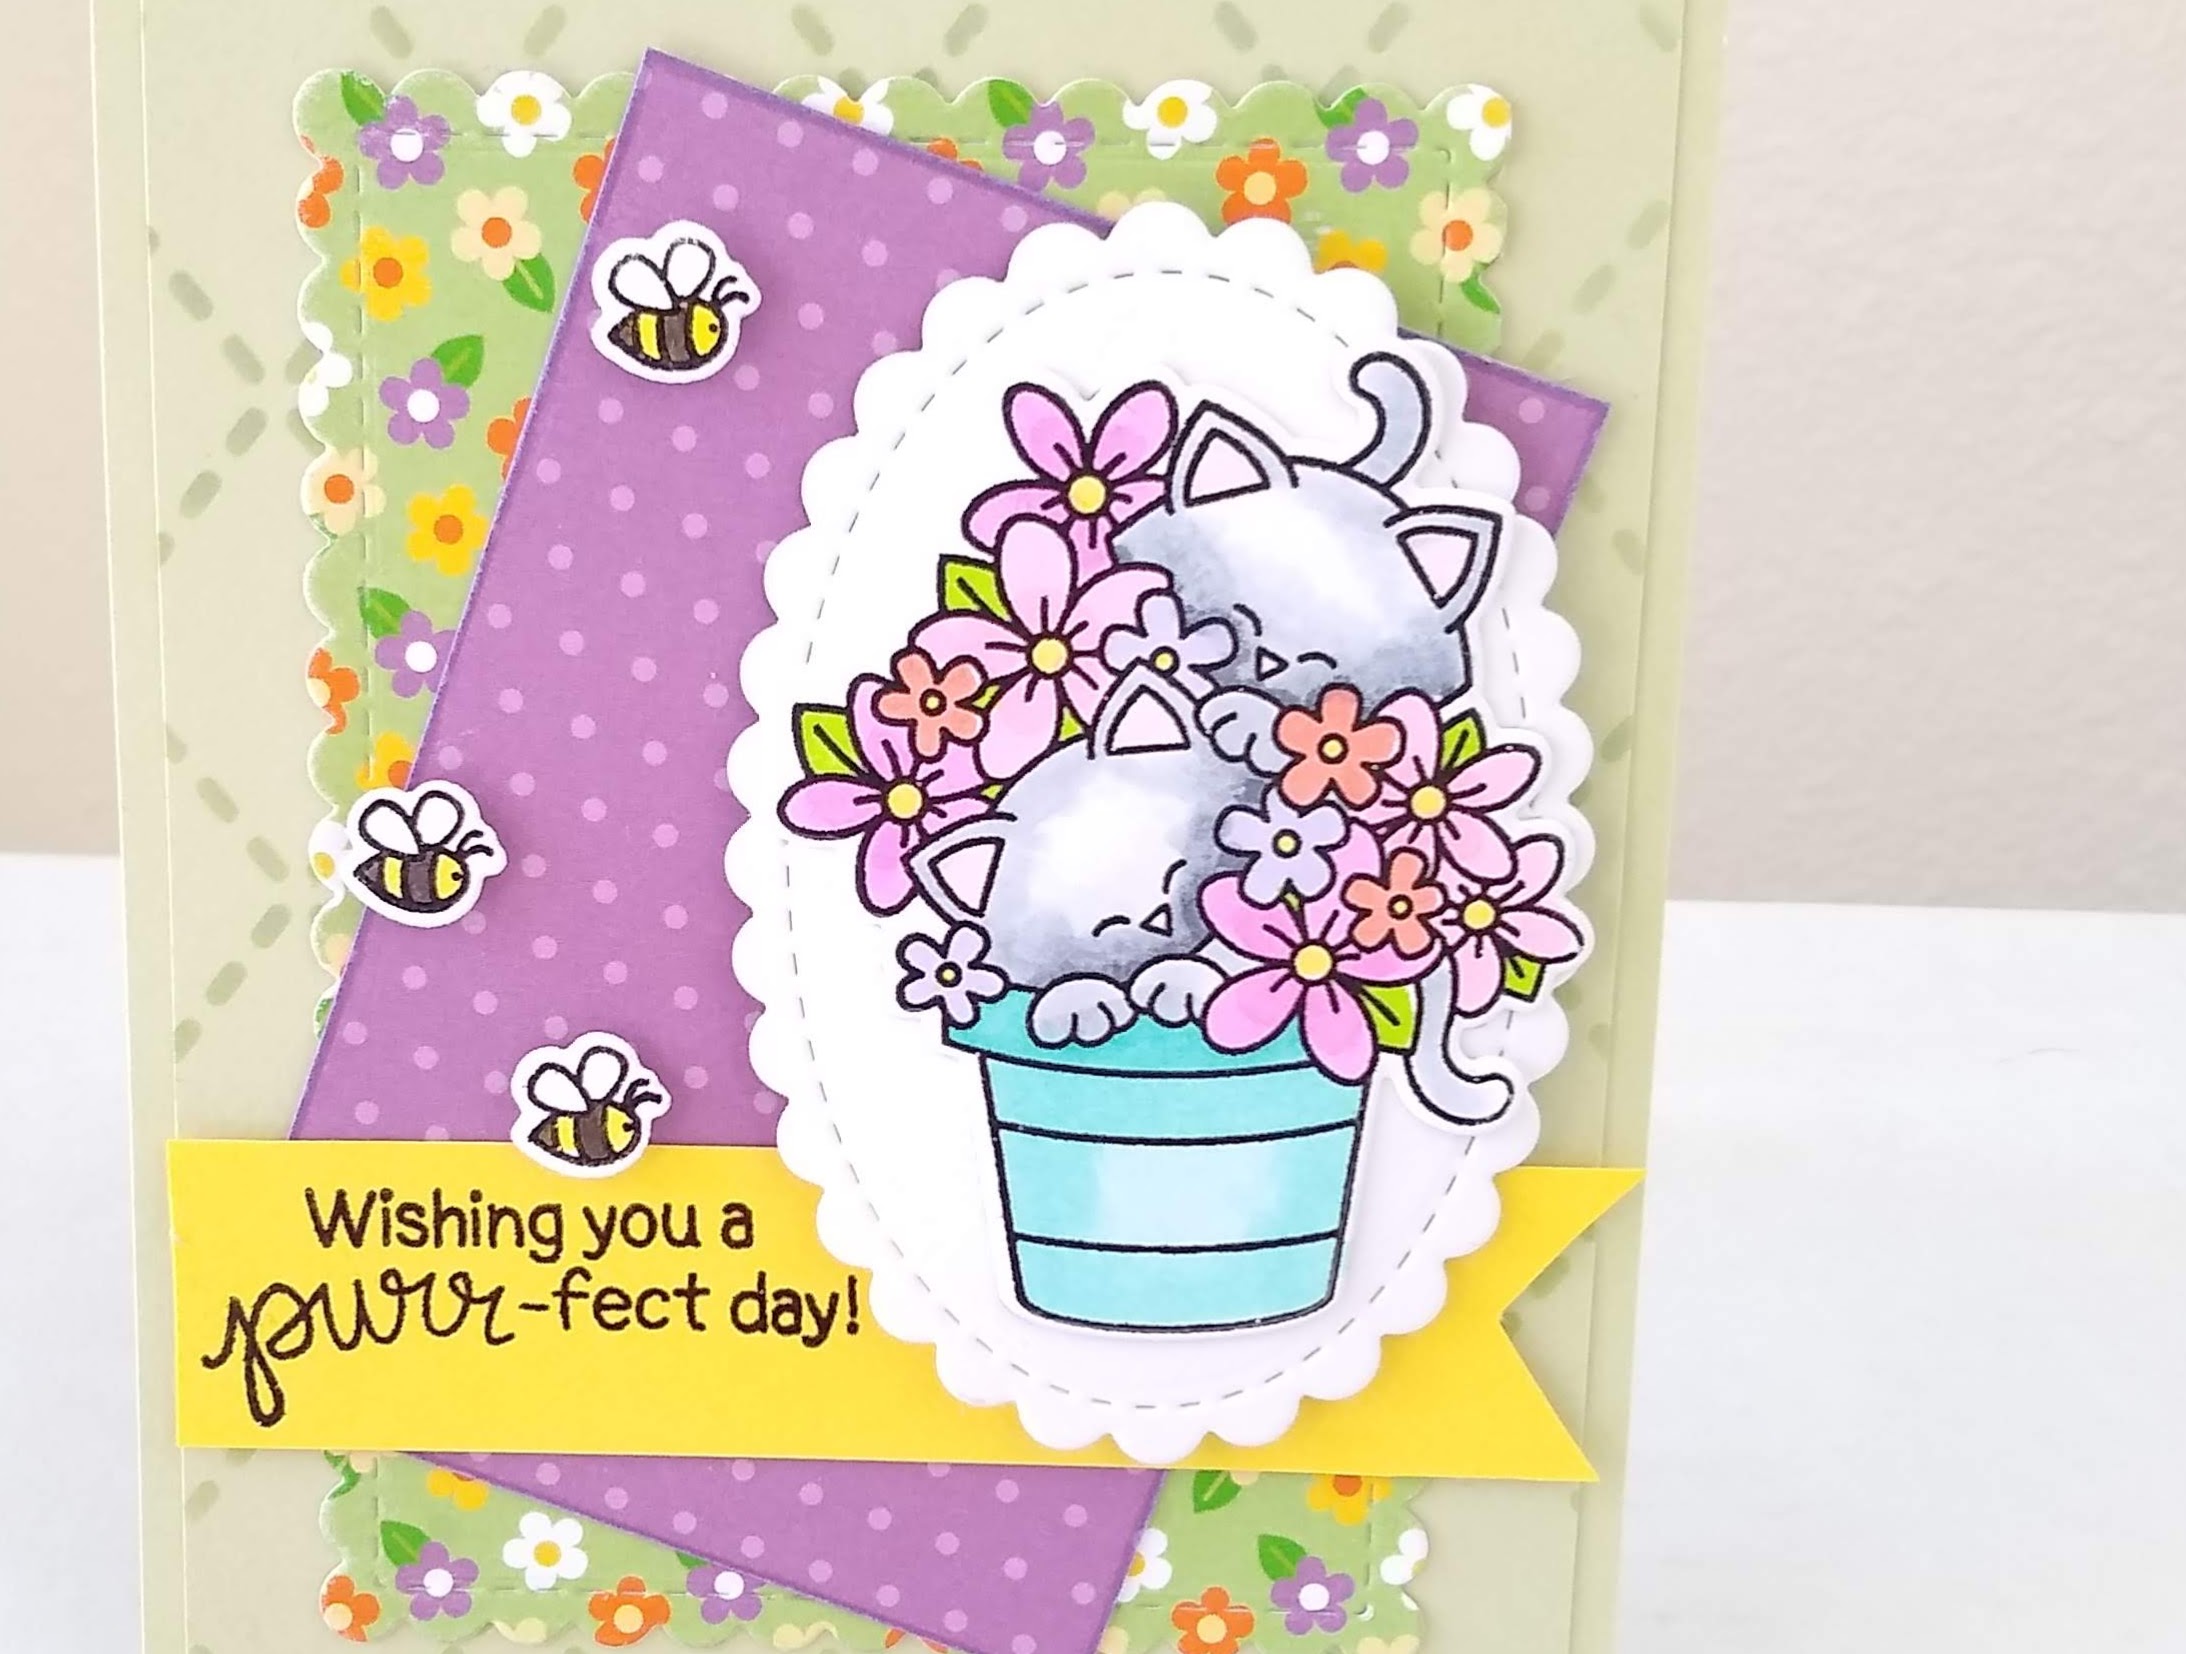
I kind of reverse engendered this card by choosing my printed paper first.

All the paper in this pad goes so well together that it was hard to choose a set.

I finally decided on the green and flower to match the Newton Blooms Stamp set.

The purple polka dot made a nice complement this I cut down to 4x3.

I used the scalloped frame in the Frameworks Die to cut out the flowered paper.

Now to layer everything up.

Bungled sage cardstock is my card base that is inked up with the Argyle Stencil Set.


Next come the printed paper that is set wonky to match the sketch

Super cute, scalloped oval from the Oval Frames Die is added on with foam tape.


My stamped image from Newton Blooms colored to match the background paper and….

A yellow banner with the sentiment is the final layer.

For a last minute touch, I added on a few bees to buzz around.

And that completes my take on this challenge

Now it is your turn!

Show us your take on our fun color challenge

DON’T FORGET

Share your projects by using the link in

the challenge picture above.

You could be


OR


to receive a $20 Store Credit 

to Newton's Nook Designs! using random.org

                                      Do you use Instagram?                                           

#inkypawschallenge

#newtonsnook

#newtonsnookdesigns

Thanks so much for dropping by.


STAY SAFE AND STAY CRAFTY.

DIANE